su vs sudo#
In AWS, and using our local VM, we'll login to the system using the ubuntu user. This is non-privileged user account. If you wanted to switch to the root user then you'd simply do this: su.
The su utility means switch user, and if you don't provide a username like su some_user, then by default you'll switch to the root user. Once executed you'll be prompted to enter the root user's password. On most systems you'll encounter a problem here: what's the password?"
By default, especially on modern Ubuntu systems, the root user's password is unknown to us. Instead, we have to use the sudo utility if we want to do one of two things:
- Run a command as the
rootuser (elevating the command's privileges) - Or switch to another user, including
root, without a password
Because the root user can do anything, including switch to another user without knowing their password; and because the ubuntu user can use sudo to execute any command as root, you can do this:
1 | |
Note
You may be prompted for the ubuntu user's password. If you didn't set this then you might be in trouble. In AWS you won't be prompted for the password. On your local VM you will be. It's the password you set during installation.
This will run sudo and the -s flag means to use the shell specified in the SHELL environment variable. Without a command specified, then means you end up running your default shell environment as the root user, and you essentially become root:
1 2 | |
Here's an example:
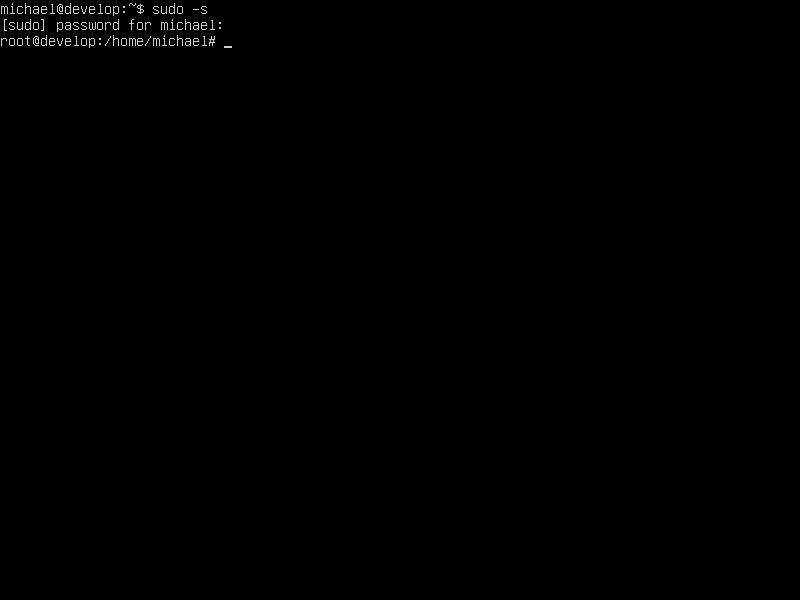
I've switched to the root user on my Ubuntu VM. Now I can run commands as root and manage this system (or break it - be careful!)
You can also use sudo to just run commands without switching to a root user shell prompt:
1 | |
Then you'll something along these lines:
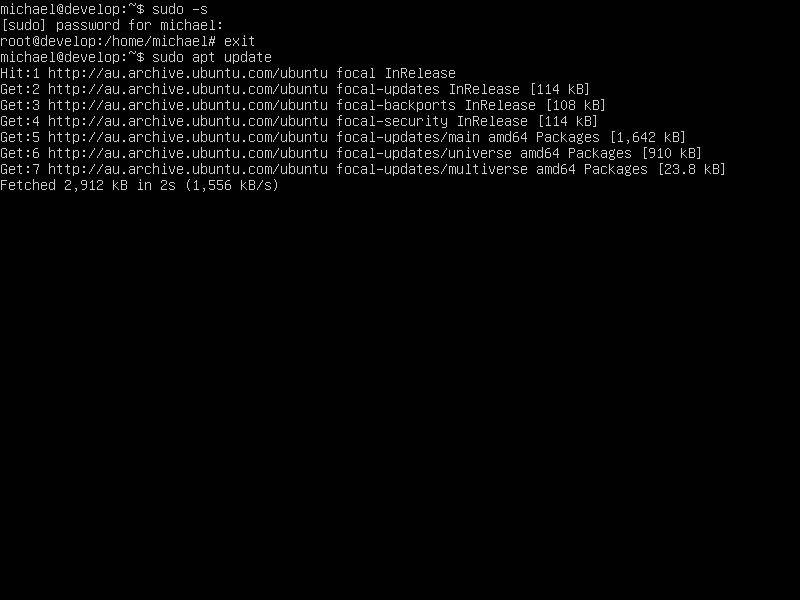
sudo apt update
Note
You'll be required to type in your user's password. Once you've done this you won't have to type your password in again for a short while. You get a "session" that allows you to run subsequent commands after the first.
This is a very common command, which we'll cover later. What will happen here is your ubuntu user will be elevated to the root user (who has a uid - user ID - of 0) and then the apt update will be executed. Once it's finished, you're returned to your non-root user prompt to continue working.
There are other things to know about the root user, but at this point in time you're good to go.