The Web Console#
So we've got an AWS account and we've secured it (right? I really hope you didn't skip that section.) Now it's time to explore the AWS web console and get a feel for how to move around it.
I won't cover logging into the console because you've already done this. I'll move straight to the front page and we'll look at some services.
The front page#
Here's what the console looks like in 2022:
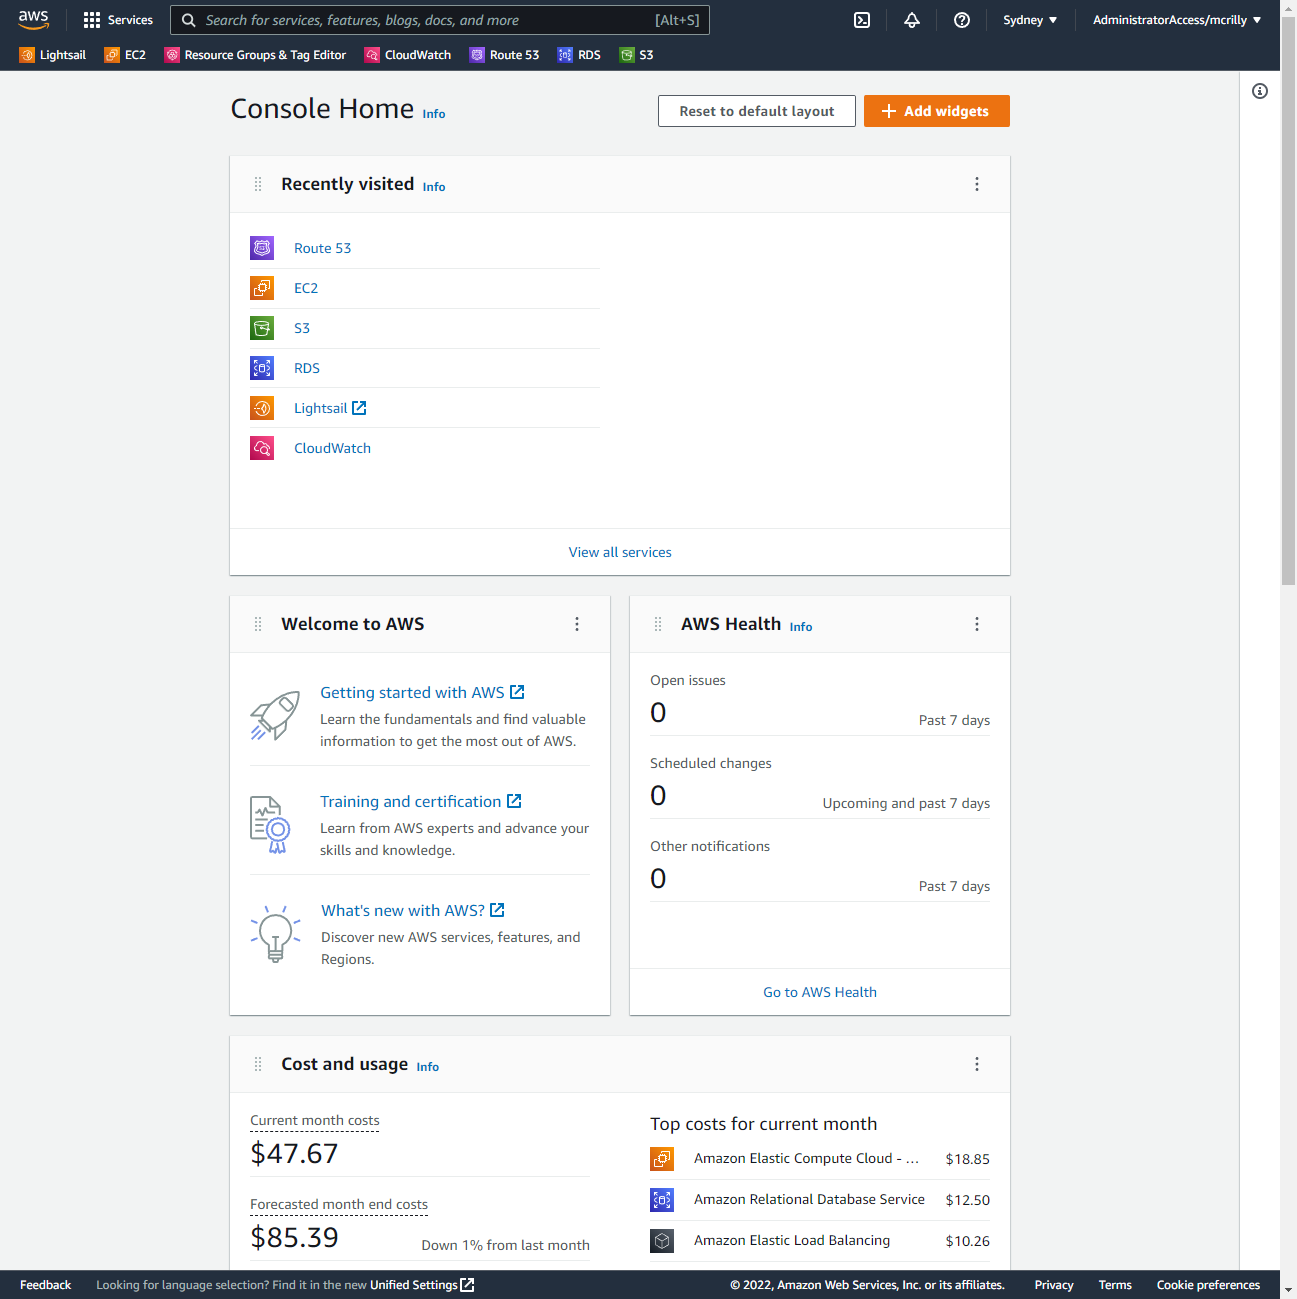
Let's break this down.
This is mostly obvious, really.
- In the services menu we just reviewed we had some starred services - that's where they go
- And the same for the recently visited. This is a convenience feature
- A bit more interesting: the billing information current usage fees (at the bottom by default - interesting choice from AWS)
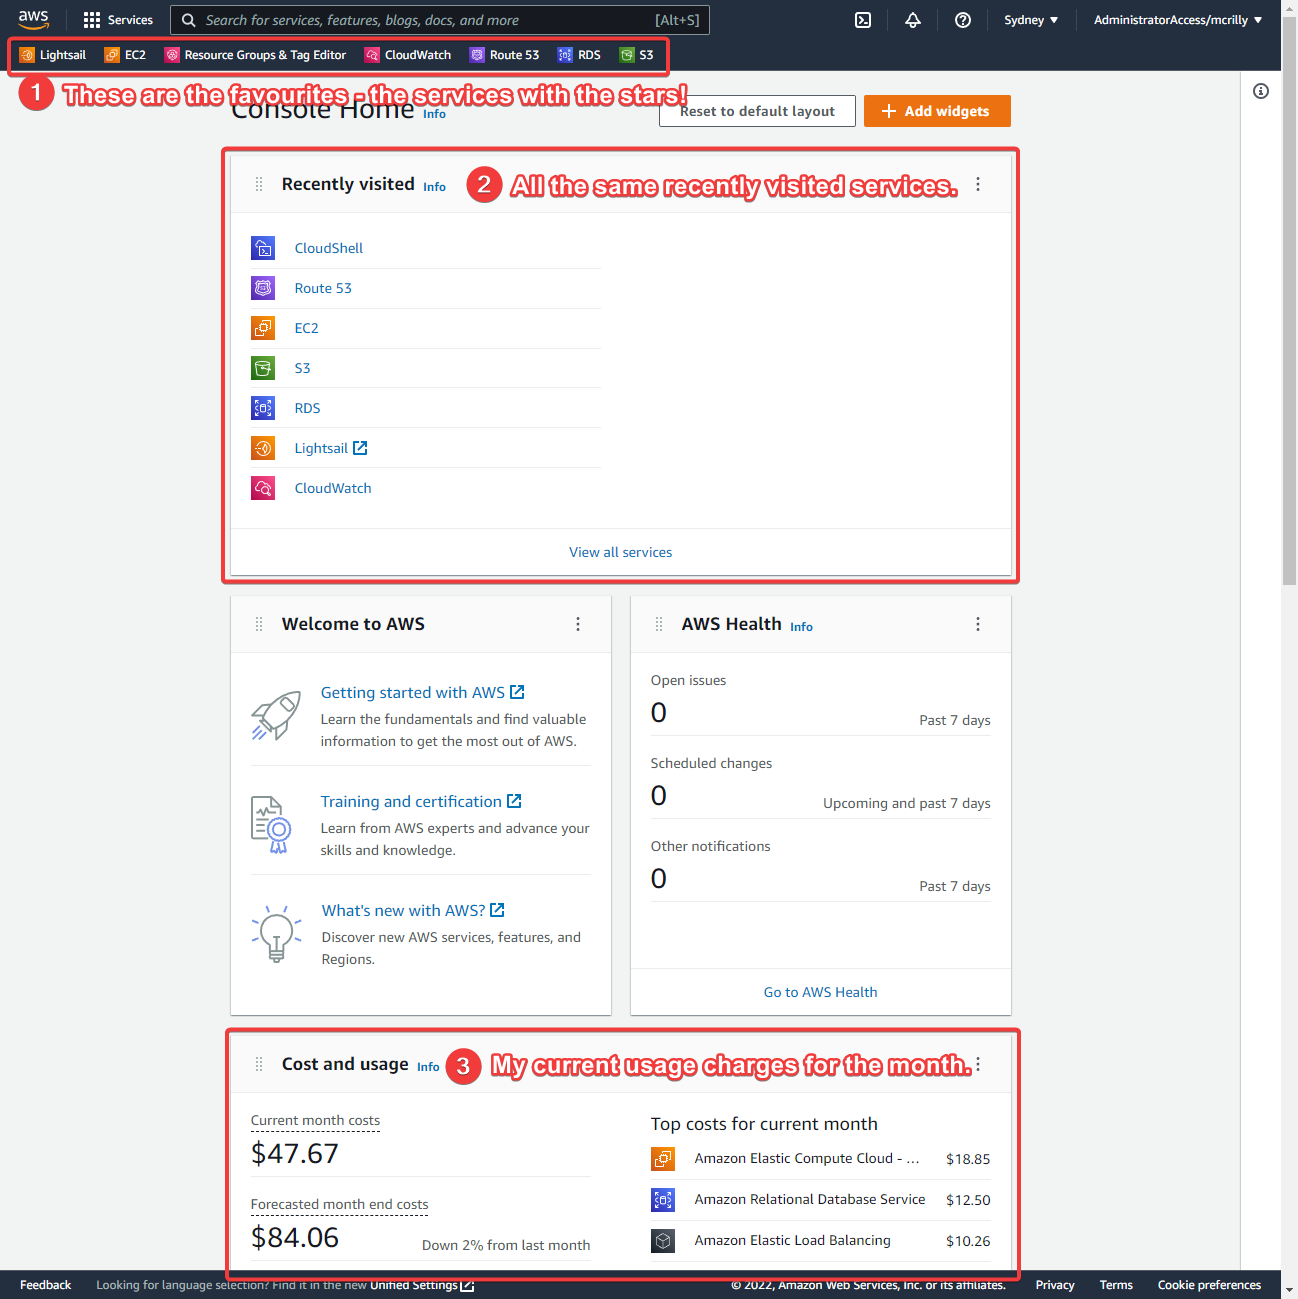
I'm going to now re-arrange the home page:
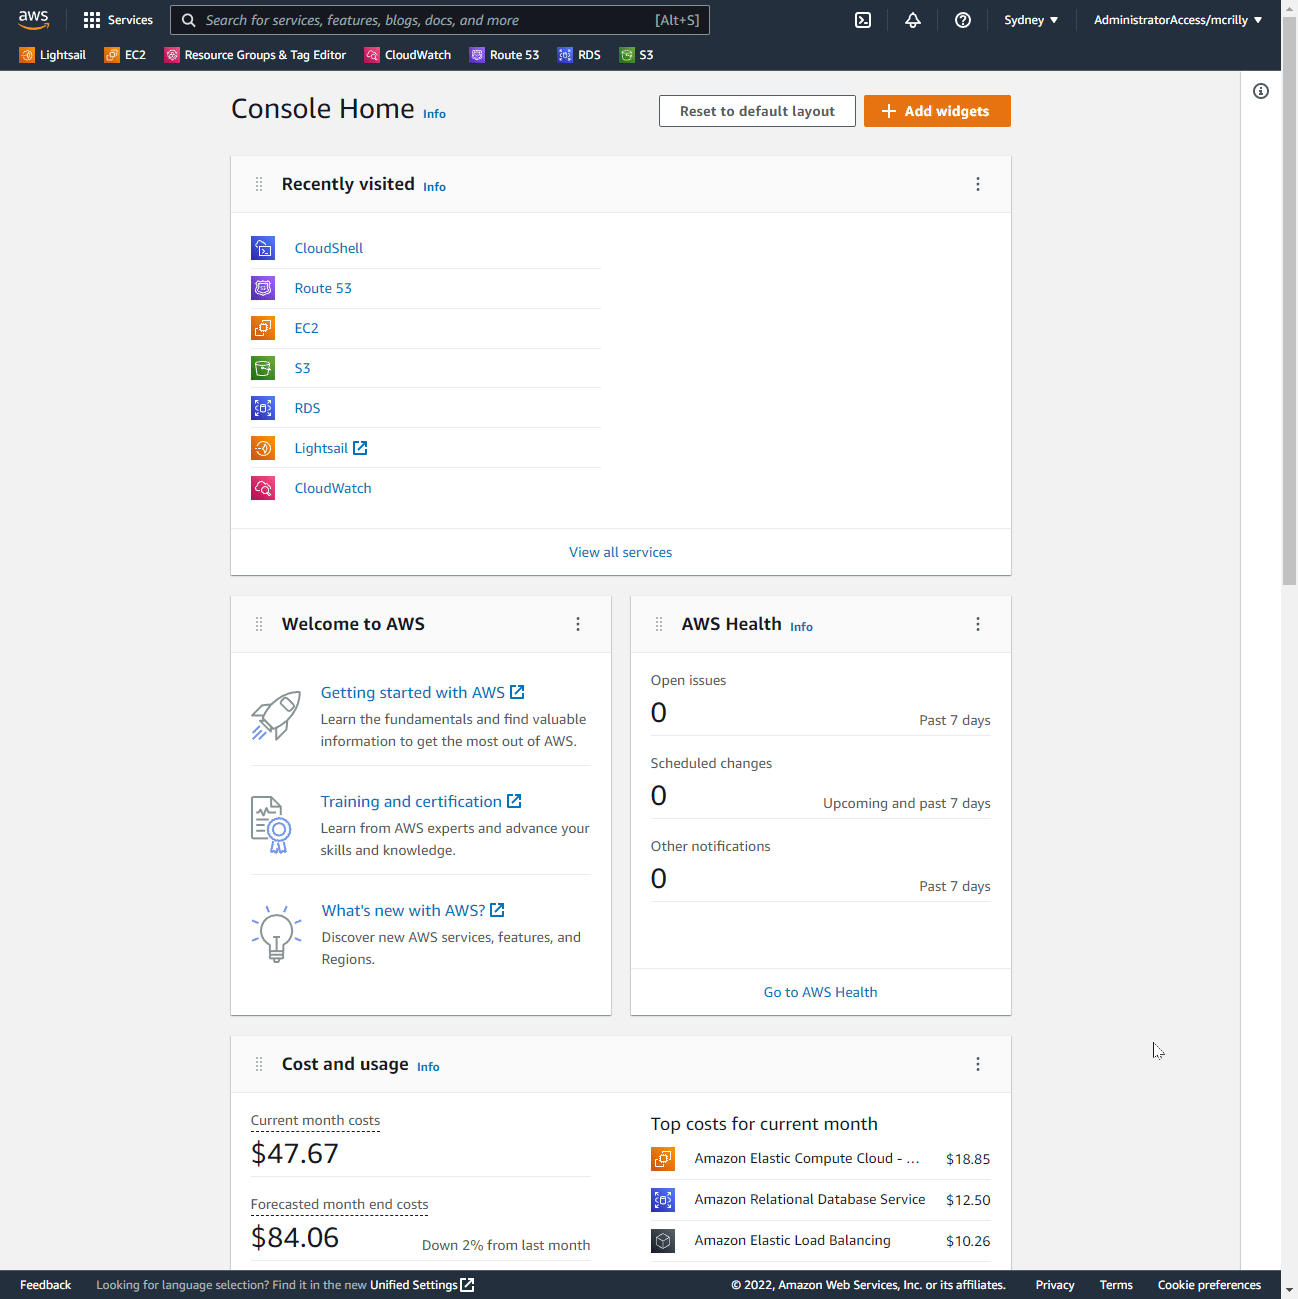
So you can see the front page can be changed to suit your needs. I recommend putting the billing section at the top so you can catch surprises early.
Note
Although because you followed my advice, you have a billing alarm, so there won't be any billing surprises, right?
Main menu#
Let's also look at the main running along the top of the page.

It's not too complicated. Each part plays an important role, though.
- This simply takes you back to the very front page. It's a common design pattern across the Internet: the logo of the website usually takes you back to the front page
- This is where you'll access a lot of AWS' services. It brings up a massive menu we'll explore shortly. After finding the service here you can pin it your menu bar, something else we'll cover shortly
- Here we can search for services, resources, documentation and so on - it's actually pretty decent
- The built-in terminal can be very useful for performing command-line operations against your account without having to install the tools locally or deal with authentication. Clicking the button creates an environment for you and takes a bit of time at first
- The region you have set determines a lot about what resources you see, your billing information, where you create new resources, and more
- And finally the AWS account you're using to access the console - we'll be keeping this simple
For now, let's explore the "Services" menu too...
Services menu#
This is a big part of the console and you'll spend time here looking for all the cool things AWS can offer.
It's not the most complicated thing in the world, but there is still a decent amount going on here.
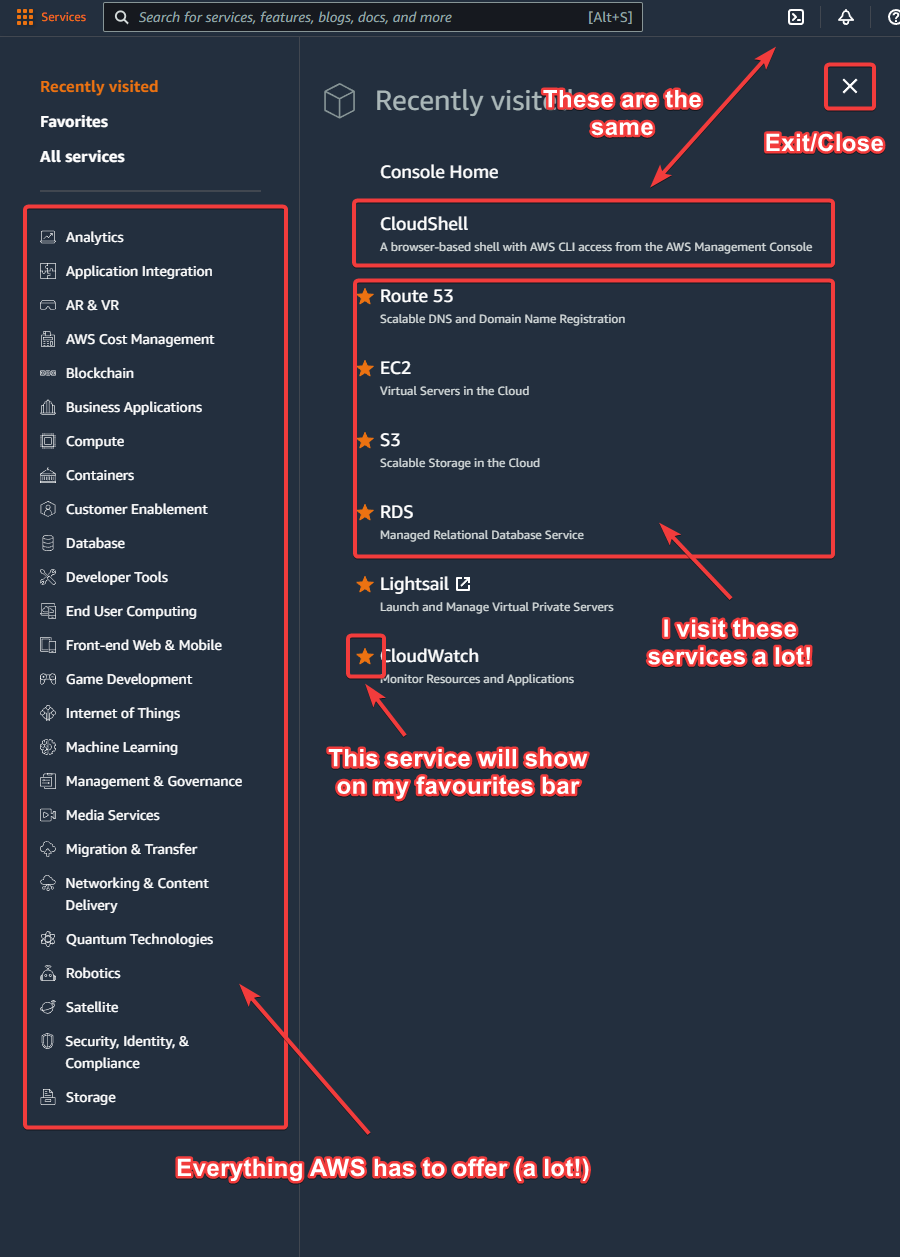
On the left we have every service that AWS has to offer. Click around and explore them. You'll ignore about 95% of them, but some of them might be of interest to you. Just remember: they cost real money!
The CloudShell link is the same as the terminal icon in the main menu - you get a terminal you can use to interact with AWS, via your own account, as if it local to you.
The list of "Recently visited" services is something that you'll develop yourself as you work through this course.
And the little stars are the services I've favourited. These appear along the bottom of the main menu.
The region menu#
The region you're working inside of is very important. You have to not only create your resources in the correct region, but certain resources, like IAM, actually only operate out of a single resource (but apply everywhere.)
AWS operats all over the world. Here's AWS' list of regions. Note that some regions aren't available yet.
When you're selecting a region from the region menu, you're telling AWS where to create the recoures you're demanding as you use the console. The same applies for the command-line and the API (which we explore later on.)
Here are the regions in the region menu:
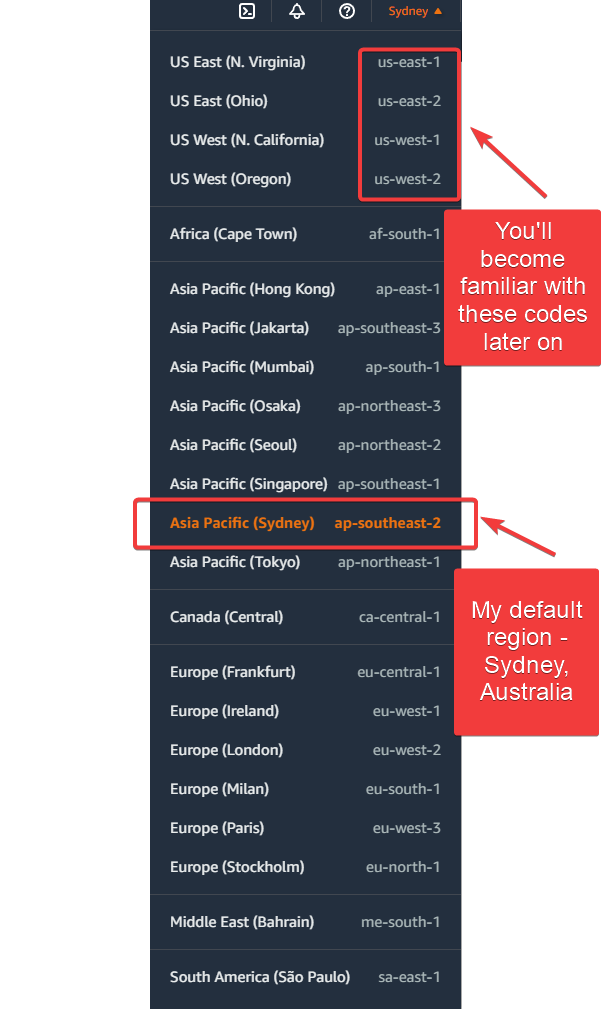
All you do is select a region and it'll update the console. We'll see this in action later on.
User menu#
There are some interesting links in this menu (don't get excited):
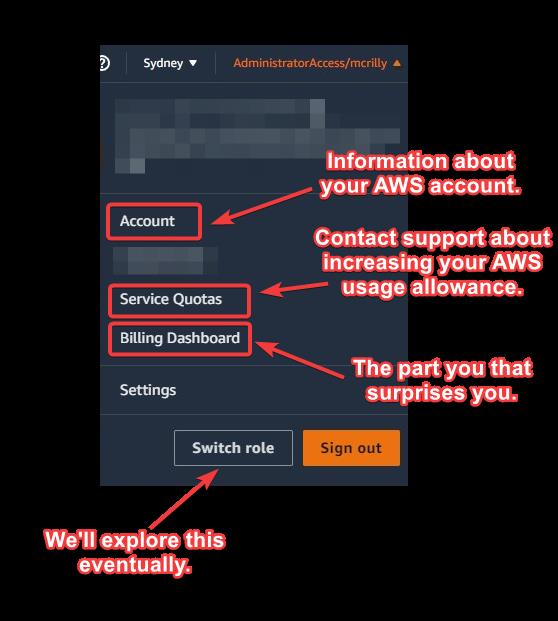
Note
The blurred our parts are things I don't want you to focus on. They're advanced features and can be ignored for now.
The "Account" link takes you to the home of your billing account, and shows you all the gritty details about your account. I'd share a screenshot, but I'd have to blur out so much it would be pointless. Instead, click the link and look at the sort of information available here.
The "Service Quotas" link is where you go when you've reached the maximum default number of resources AWS allows you to create. For example, with EC2, my default resource quotas look like this:
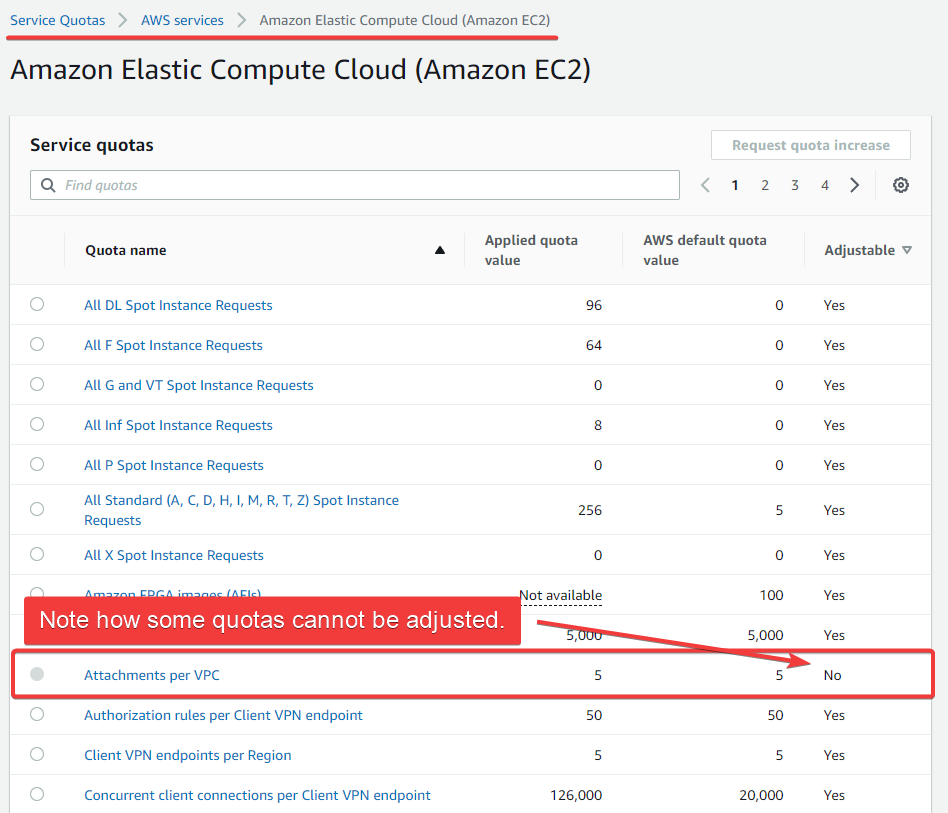
The defaults are fine, possibly even too much, for our needs, but in a production enviroment you'll oftent hit barriers. This is where you lift those barriers.
Moving on#
That's a general overview of the web console. As you move through this section, you'll be exposed to more of the console. This exposure will be in the context of specific services. That's where you'll have all the fun and learn the real-world skills.